Last year, we were a little more on the ball when it came to purchasing feeder pigs. We tracked craigslist for a while, made some phone calls, and finally reserved our pigs a few weeks in advance. We didn’t yet have a truck, so we borrowed a dog carrier from a neighbor and drove the three stinky little critters home in the back seat of the Nissan. We had to ride the whole way with the windows rolled down to keep from gagging on the stink.
When buying feeder pigs, it’s important to get healthy animals from a knowledgeable, competent source. If they aren’t healthy as piglets, they’ll grow more slowly and convert feed to bacon less efficiently. Meat from intact males can have what’s called boar taint. I’ve never tasted it, but it’s not supposed to be delicious. If you don’t want to deal with castrating your own, ask for cut males. Last year we purchased two barrows and a gilt. Barrows are cut males, and a gilt is a female who has never had a litter. They were part China-Poland and part something else.
At that time, our chickens were only a few weeks old and still lived in a Rubbermaid tub in the living room. We brought the pigs home and locked them in the chicken house overnight to get them used to their new home. In the morning, we let them romp in the fenced chicken yard. I remember flipping out the first time we saw one snurfling in the dirt with its little spade face. We had set up the electric fence just inside the chicken yard fence to train them to the electric wire. With the fence set up this way, if they ran through the electric fence, they’d hit a real fence and have to turn back. Pigs are very smart, and these learned quickly. They’d bump the fence with their sensitive snouts, squeal, and back off. A week or so later, we put them out on the site of our future garden with nothing but the electric fence to keep them in. After one mishap (which I described here) they were fine. By the summer, our pigs wouldn’t cross a single strand of electric fence lying on the ground unless they were in a panic.
The first of last year’s pigs, BigUn, was slaughtered for a whole hog barbecue to celebrate the end of the school year. A neighbor helped us butcher the hog, which was a tremendous learning experience for us and for everyone who came to be a part of the festivities. It was fun to watch the fascination and revulsion take turns on our friends faces as they passed around a warm heart. We shared that meat with our community, and I had a ton of delicious pulled pork in the freezer to get me through the summer. The second hog, Raccoon Eyes, we butchered with the help of some visiting friends and the internet. That process was much longer and more challenging for us, since there was no one experienced there to help. We ground meat for almost two days straight to make several kinds of sausage.
Finally, there was Pinkie.

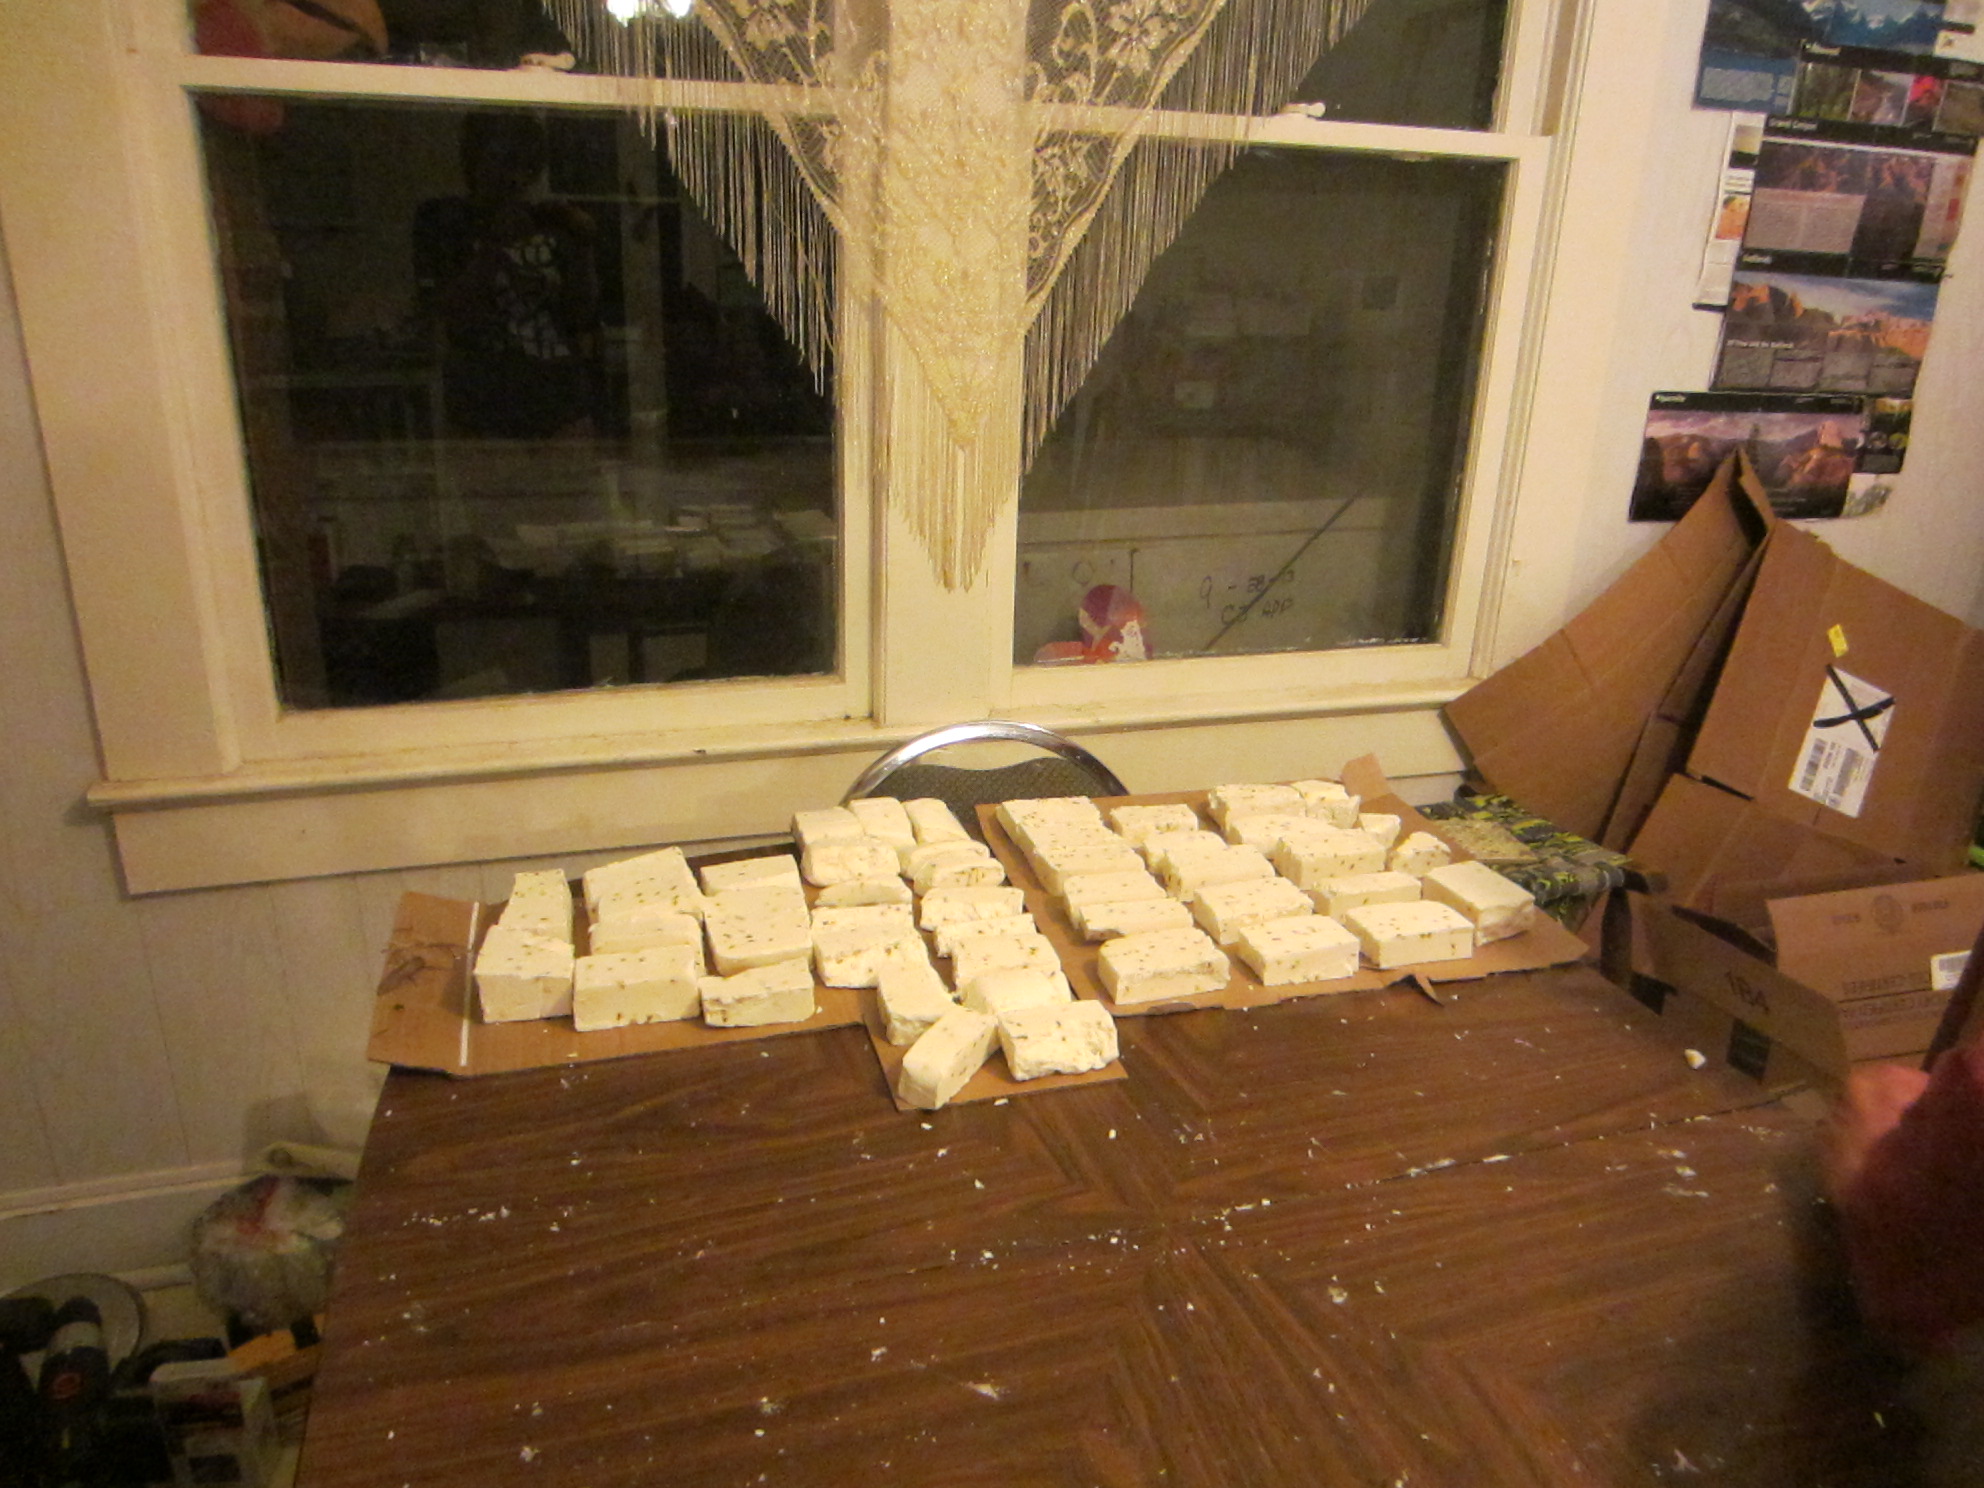
Pinkalink was the last man standing, and he must have weighed over three-hundred pounds. We hoisted him with a rope slung over a tree limb and tied to a comealong attached to our truck. It looked like the truck might come off the ground before Pinkie did. Butchering Pinkie was a slow and careful process because this was the pig we had saved for cuts: porkchops, shoulder roasts, bacon, etc. Sean actually cured the bacon and hams himself. We saved lard from Pinkie (he had plenty) and are still rendering that to make soap.

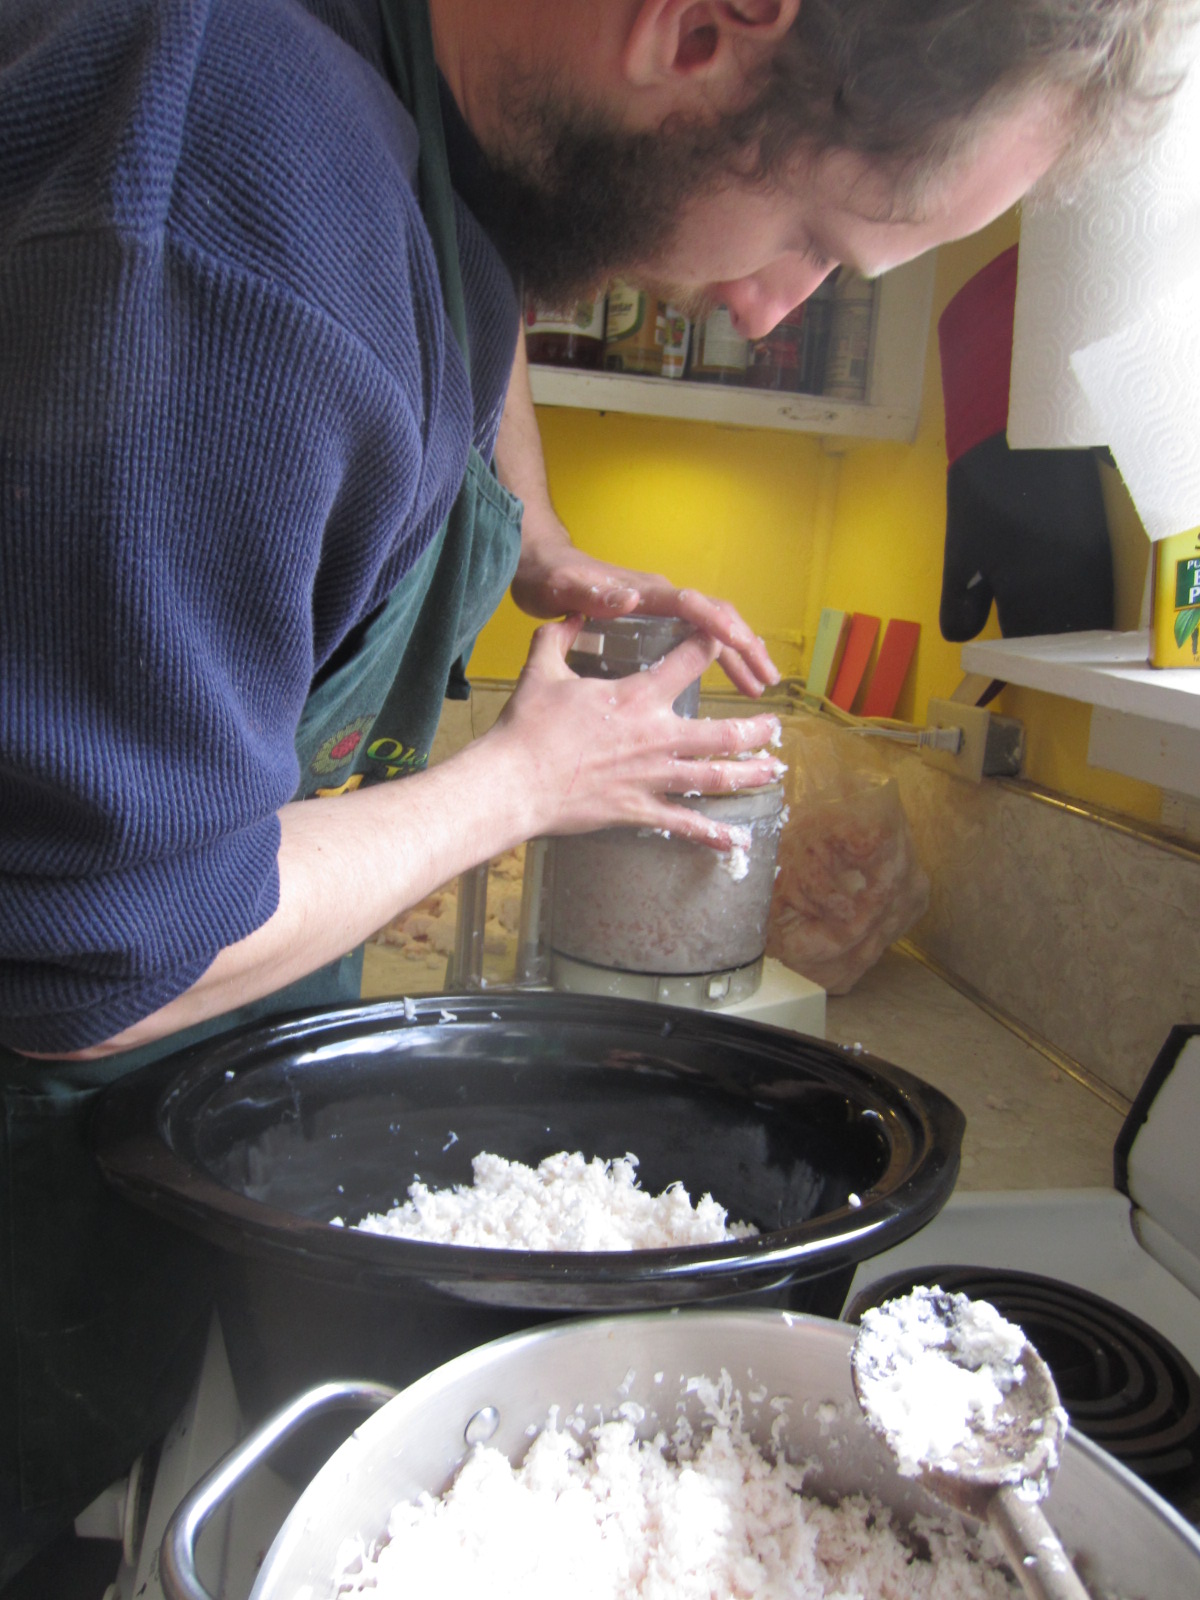
chunking the frozen lard

Sean is grating the lard and rendering it in the two pots.

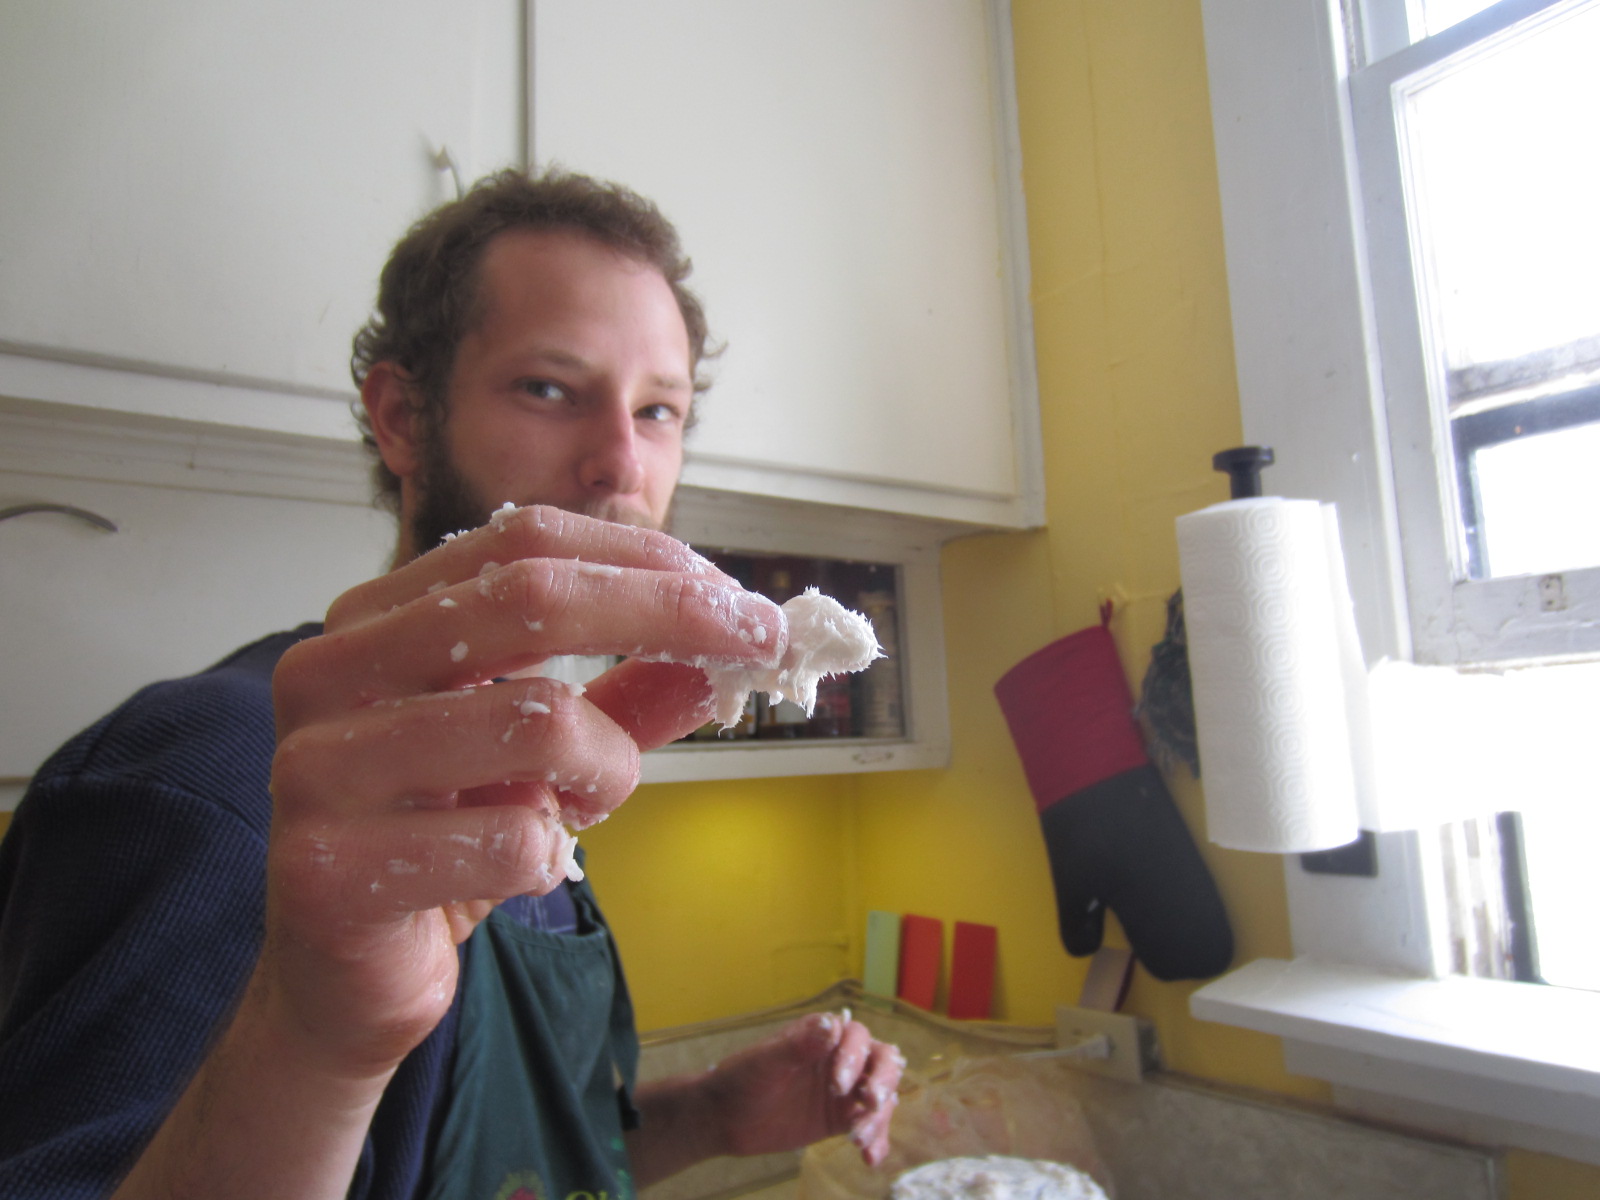
Sean made a lard-pig!

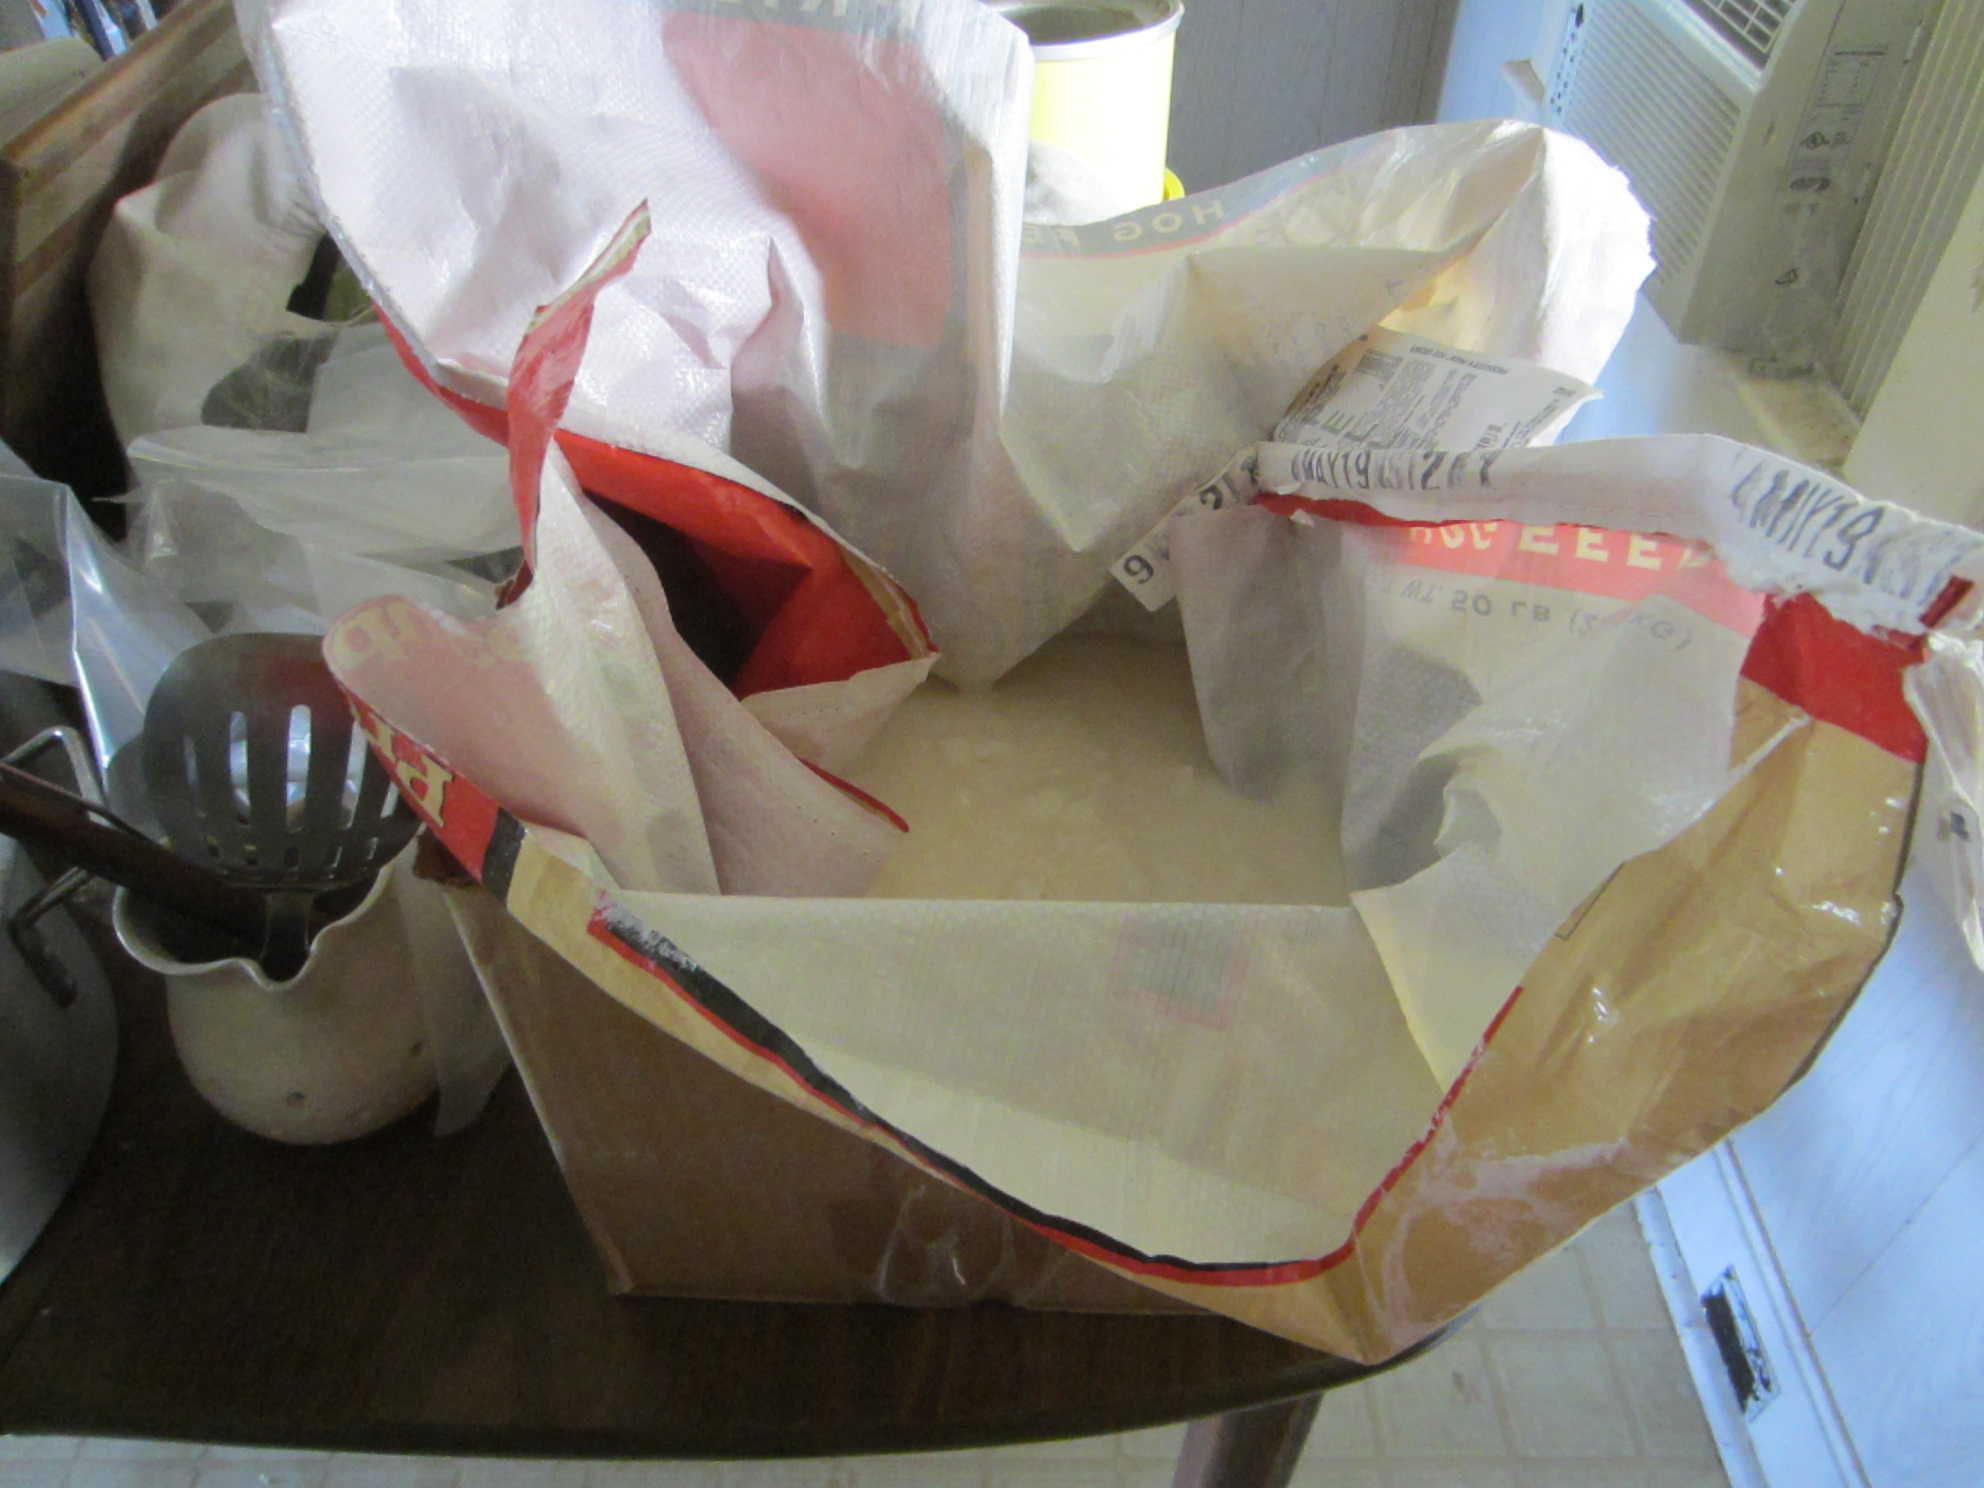
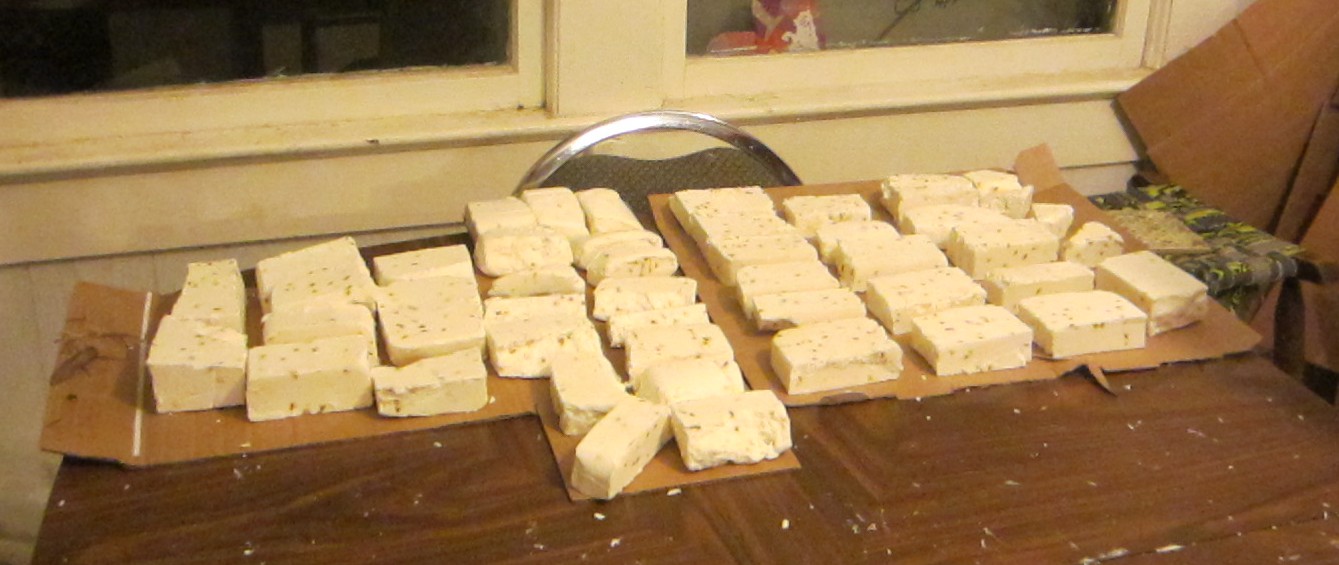
soap! We have to let it cure for a few weeks, or the lye could make it too harsh to use.
Slaughtering Pinkie was an emotional experience. As I’ve said, pigs are intelligent. They are also sensitive. With Raccoon Eyes gone, Pinkie was less active. He would lie in his shelter all day, only getting up when someone would come to feed him. When someone was down there, he’d be all exuberance, running up to scratch against your legs, sometimes even rolling over to get his bacon scratched. It looked a lot like loneliness, and it left perfect muddy snout prints on my legs every time I’d go into the pasture. Pinkie was really attached to Sean and would roll right over when Sean walked up like nothing so much as a hugely oversized pink puppy. When it came time to shoot him, Sean put the .22 right against his skull and Pinkie didn’t budge. He went down completely relaxed and easy, which is what I would want for any animal in my care. I cried over that pig for two days, but I was also proud of what we had accomplished.

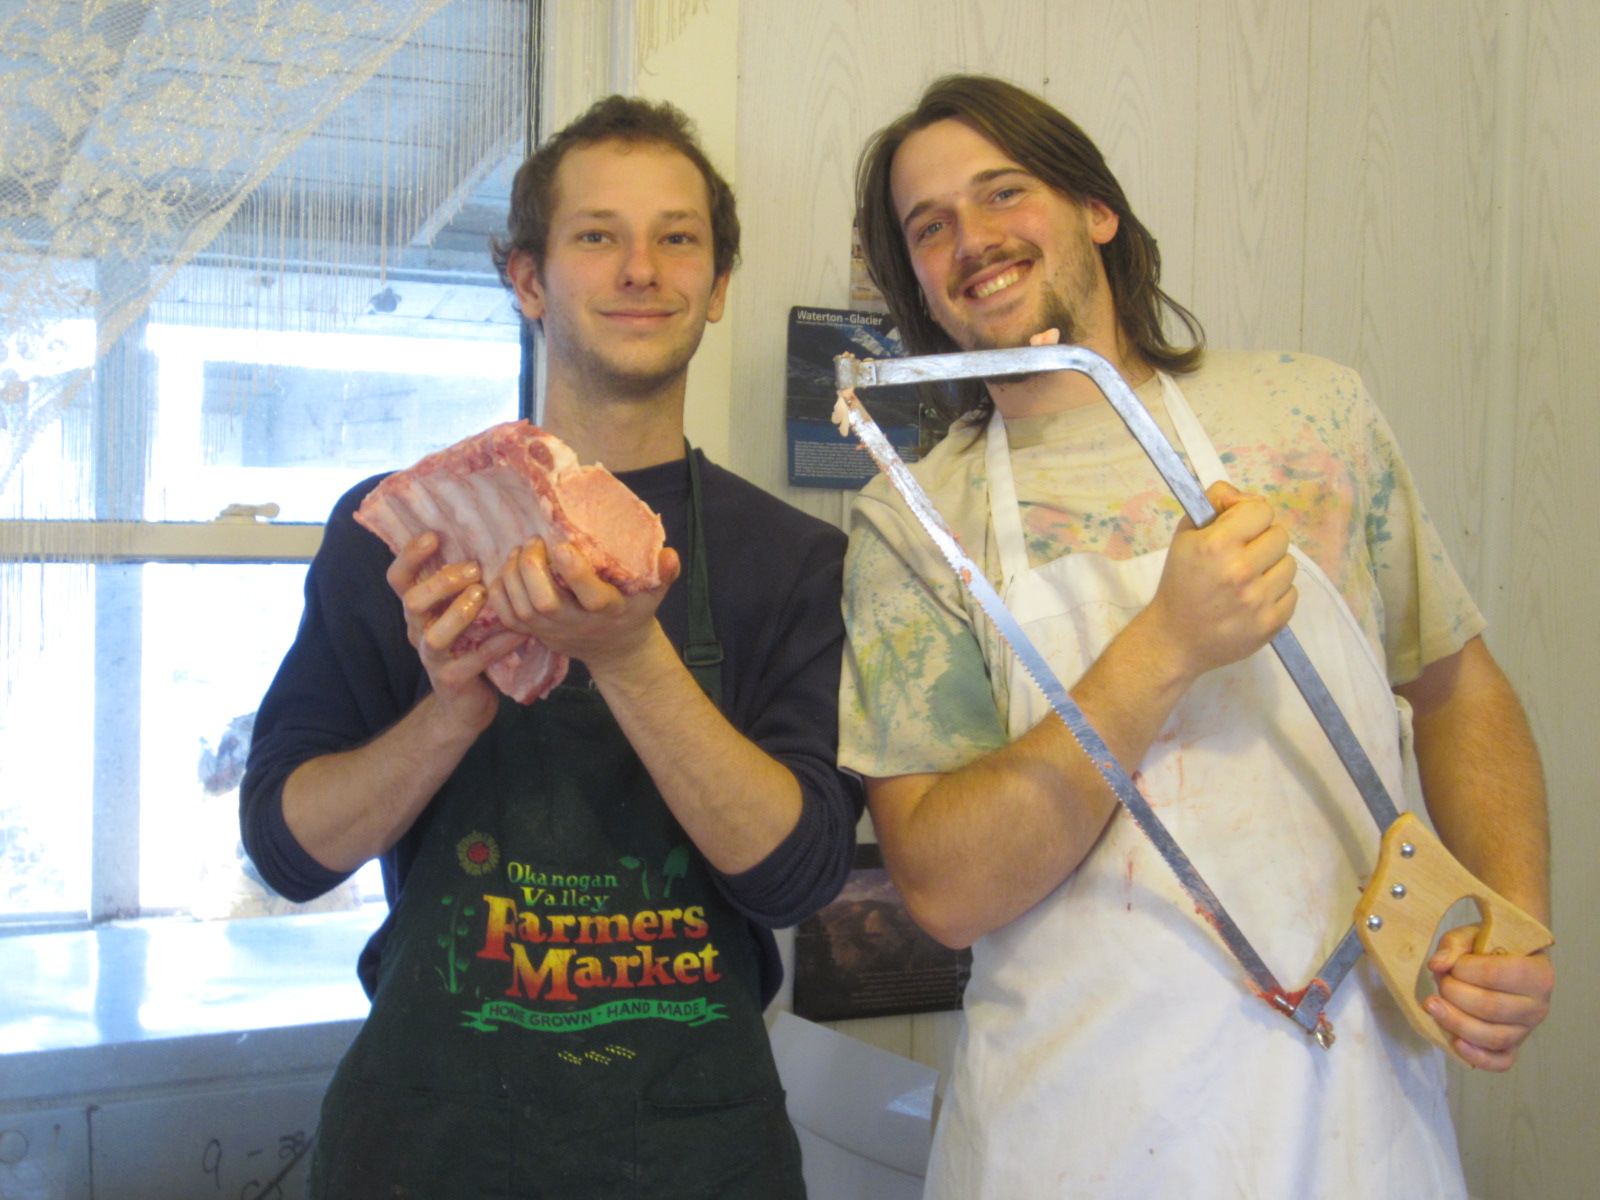
Sean and Jesse proudly display the New Years roast.
At New Years, when we ate that roast, our friends shared a perfect Wendell Berry poem, For the Hog Killing.
For the Hog Killing
Let them stand still for the bullet, and stare the
shooter in the eye,
let them die while the sound of the shot is in the
air, let them die as they fall,
let the jugular blood spring hot to the knife, let
its freshet be full,
let this day begin again the change of hogs into
people, not the other way around,
for today we celebrate again our lives’ wedding
with the world,
for by our hunger, by this provisioning, we renew
the bond.
—Wendell Berry
Raising my own meat is important to me. With a very few exceptions, I don’t eat meat that wasn’t raised with respect for the animal, the planet and people anymore, and in this part of Arkansas that pretty much means raising it ourselves. Sean was a vegetarian for years before he had the revelation of “happy meat.” I became aware of the issues around meat around that same time and transitioned to a mostly vegetarian diet with what happy meat we could afford when we could afford it. If you’re interested in hearing more about why we eat the meat we eat, ask me! I’m happy to talk or write about it all day, but this post is about our new piggies, so I’m cutting myself short.
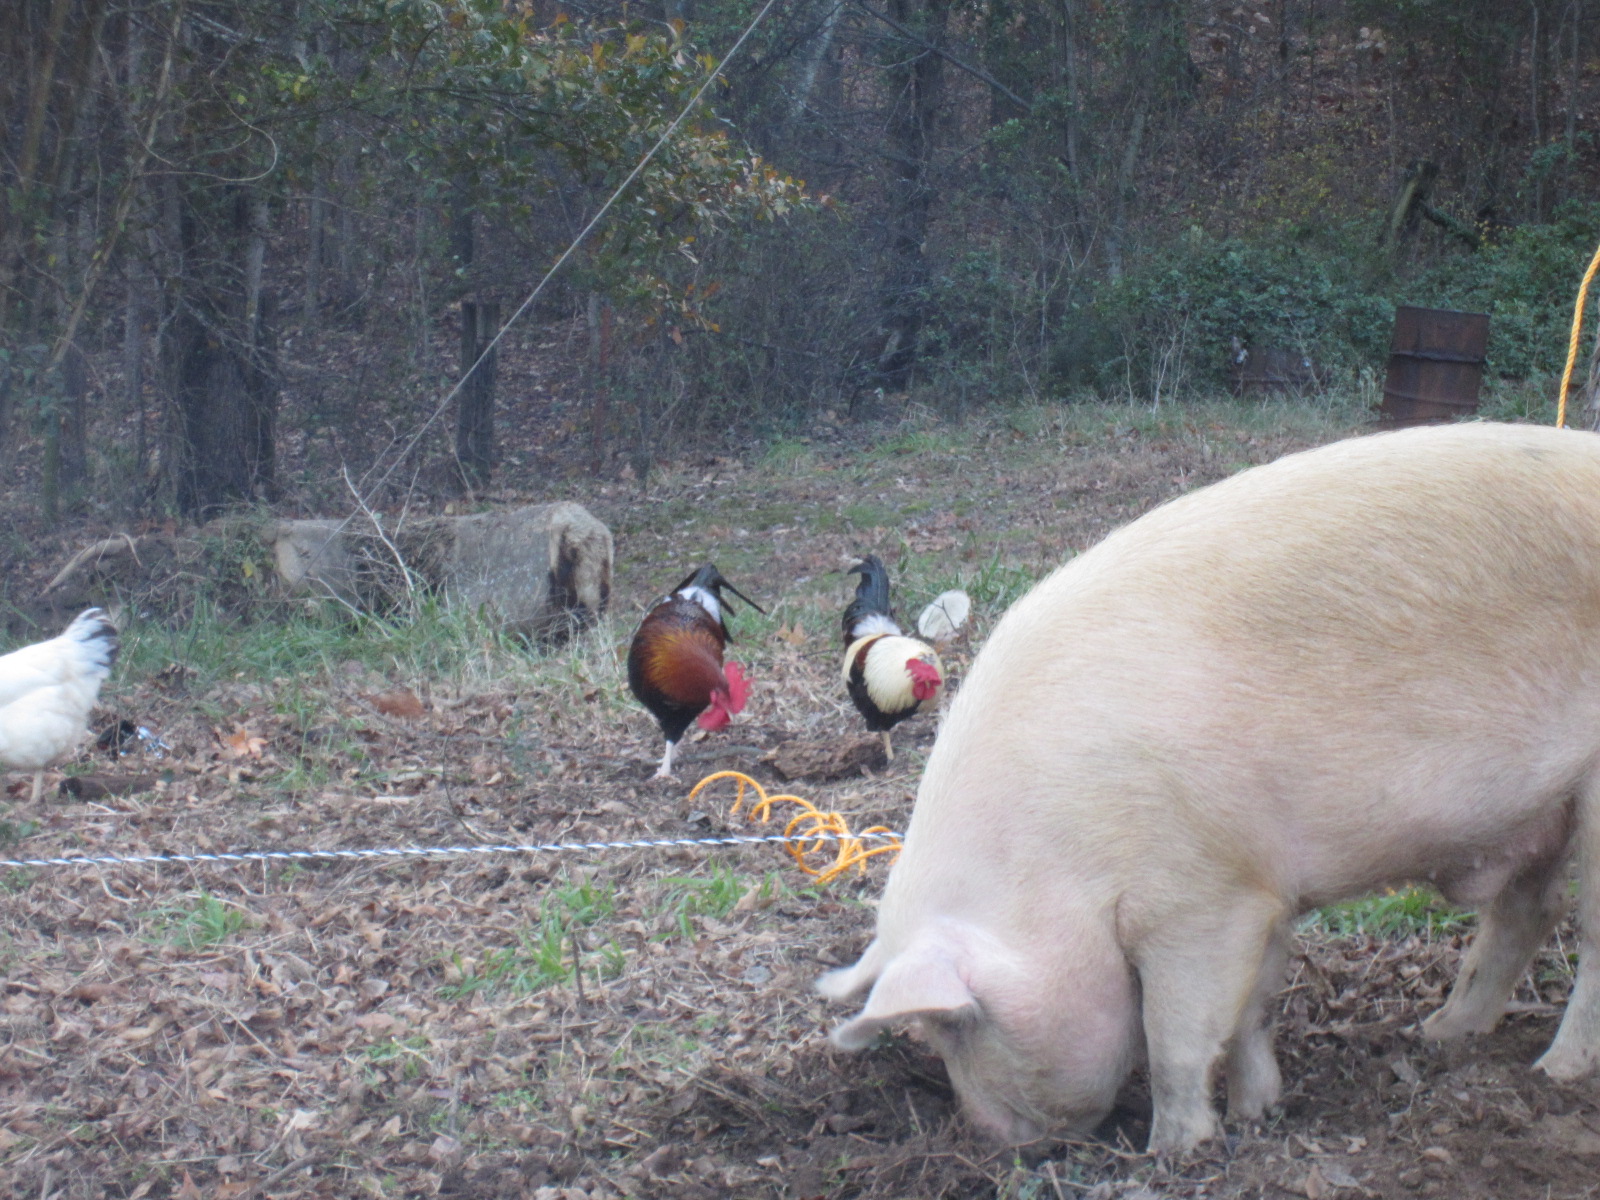
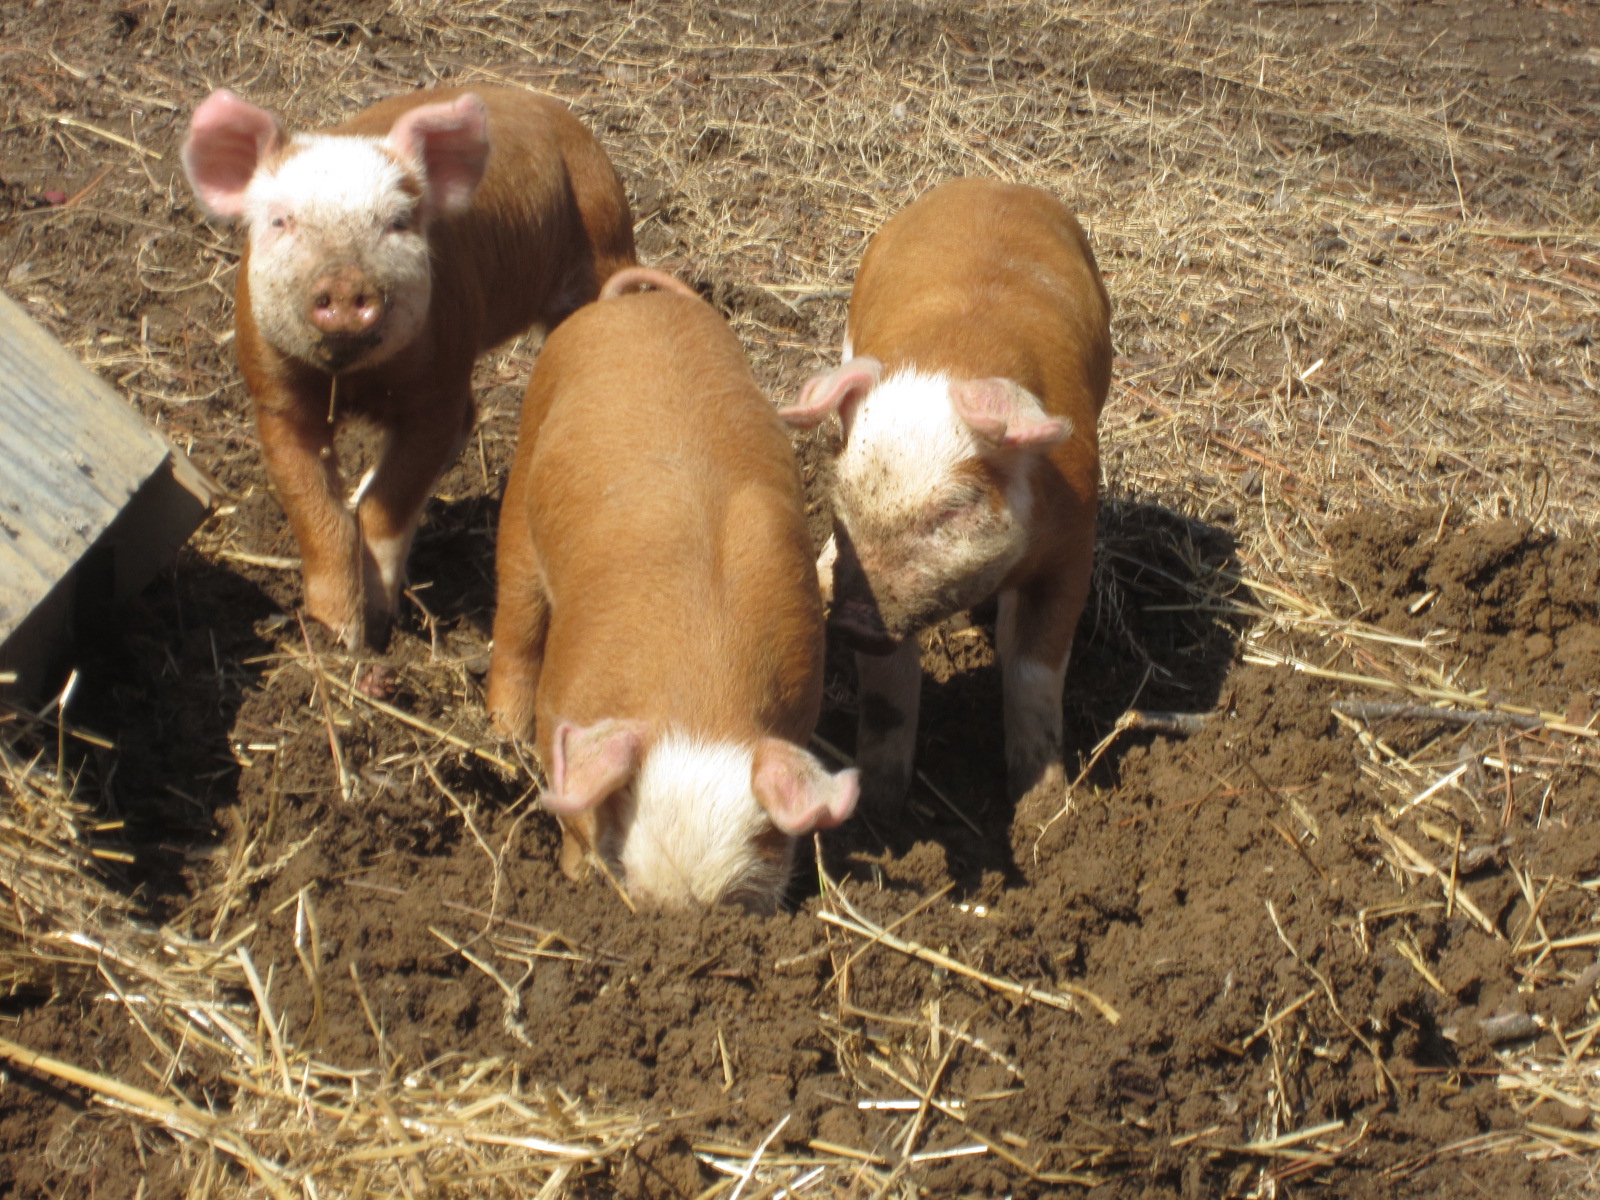
This year, we didn’t reserve pigs ahead of time and actually had a pretty hard time finding any. Nobody nearby has feeder pigs for sale, or if they do, they aren’t posting on craigslist. We wound up getting three Hereford gilts from a man a few hours north of us who is selling off his stock in preparation for a move. Since the truck isn’t working this week, we had to drive them home in the dog carrier again. My most recent experience with pigs was with Pinkie, so it was impossible to believe that three pigs could fit in such a small carrier. We hopped out of the car, put on our gloves and the man walked us over to his pig enclosure. He had a network of very clean pens on a concrete slab, and we got to see a few young Hereford hogs before we got distracted by our little squealers. When you pick up a baby pig, it screams bloody murder and releases any solids or liquids it can come up with all over you. Sean got a nice poop splatter down the front of his pants. The man we bought them from carried one by its back leg to avoid this. I wasn’t sure I could pull that off without hurting it or dropping it, so I carried my pig under my arm and it relaxed a little and stopped screaming, which surprised me and confirmed the rumor that Herefords are easygoing pigs. I also managed to come out clean. When we got them into the crate, they hardly took up half the space.
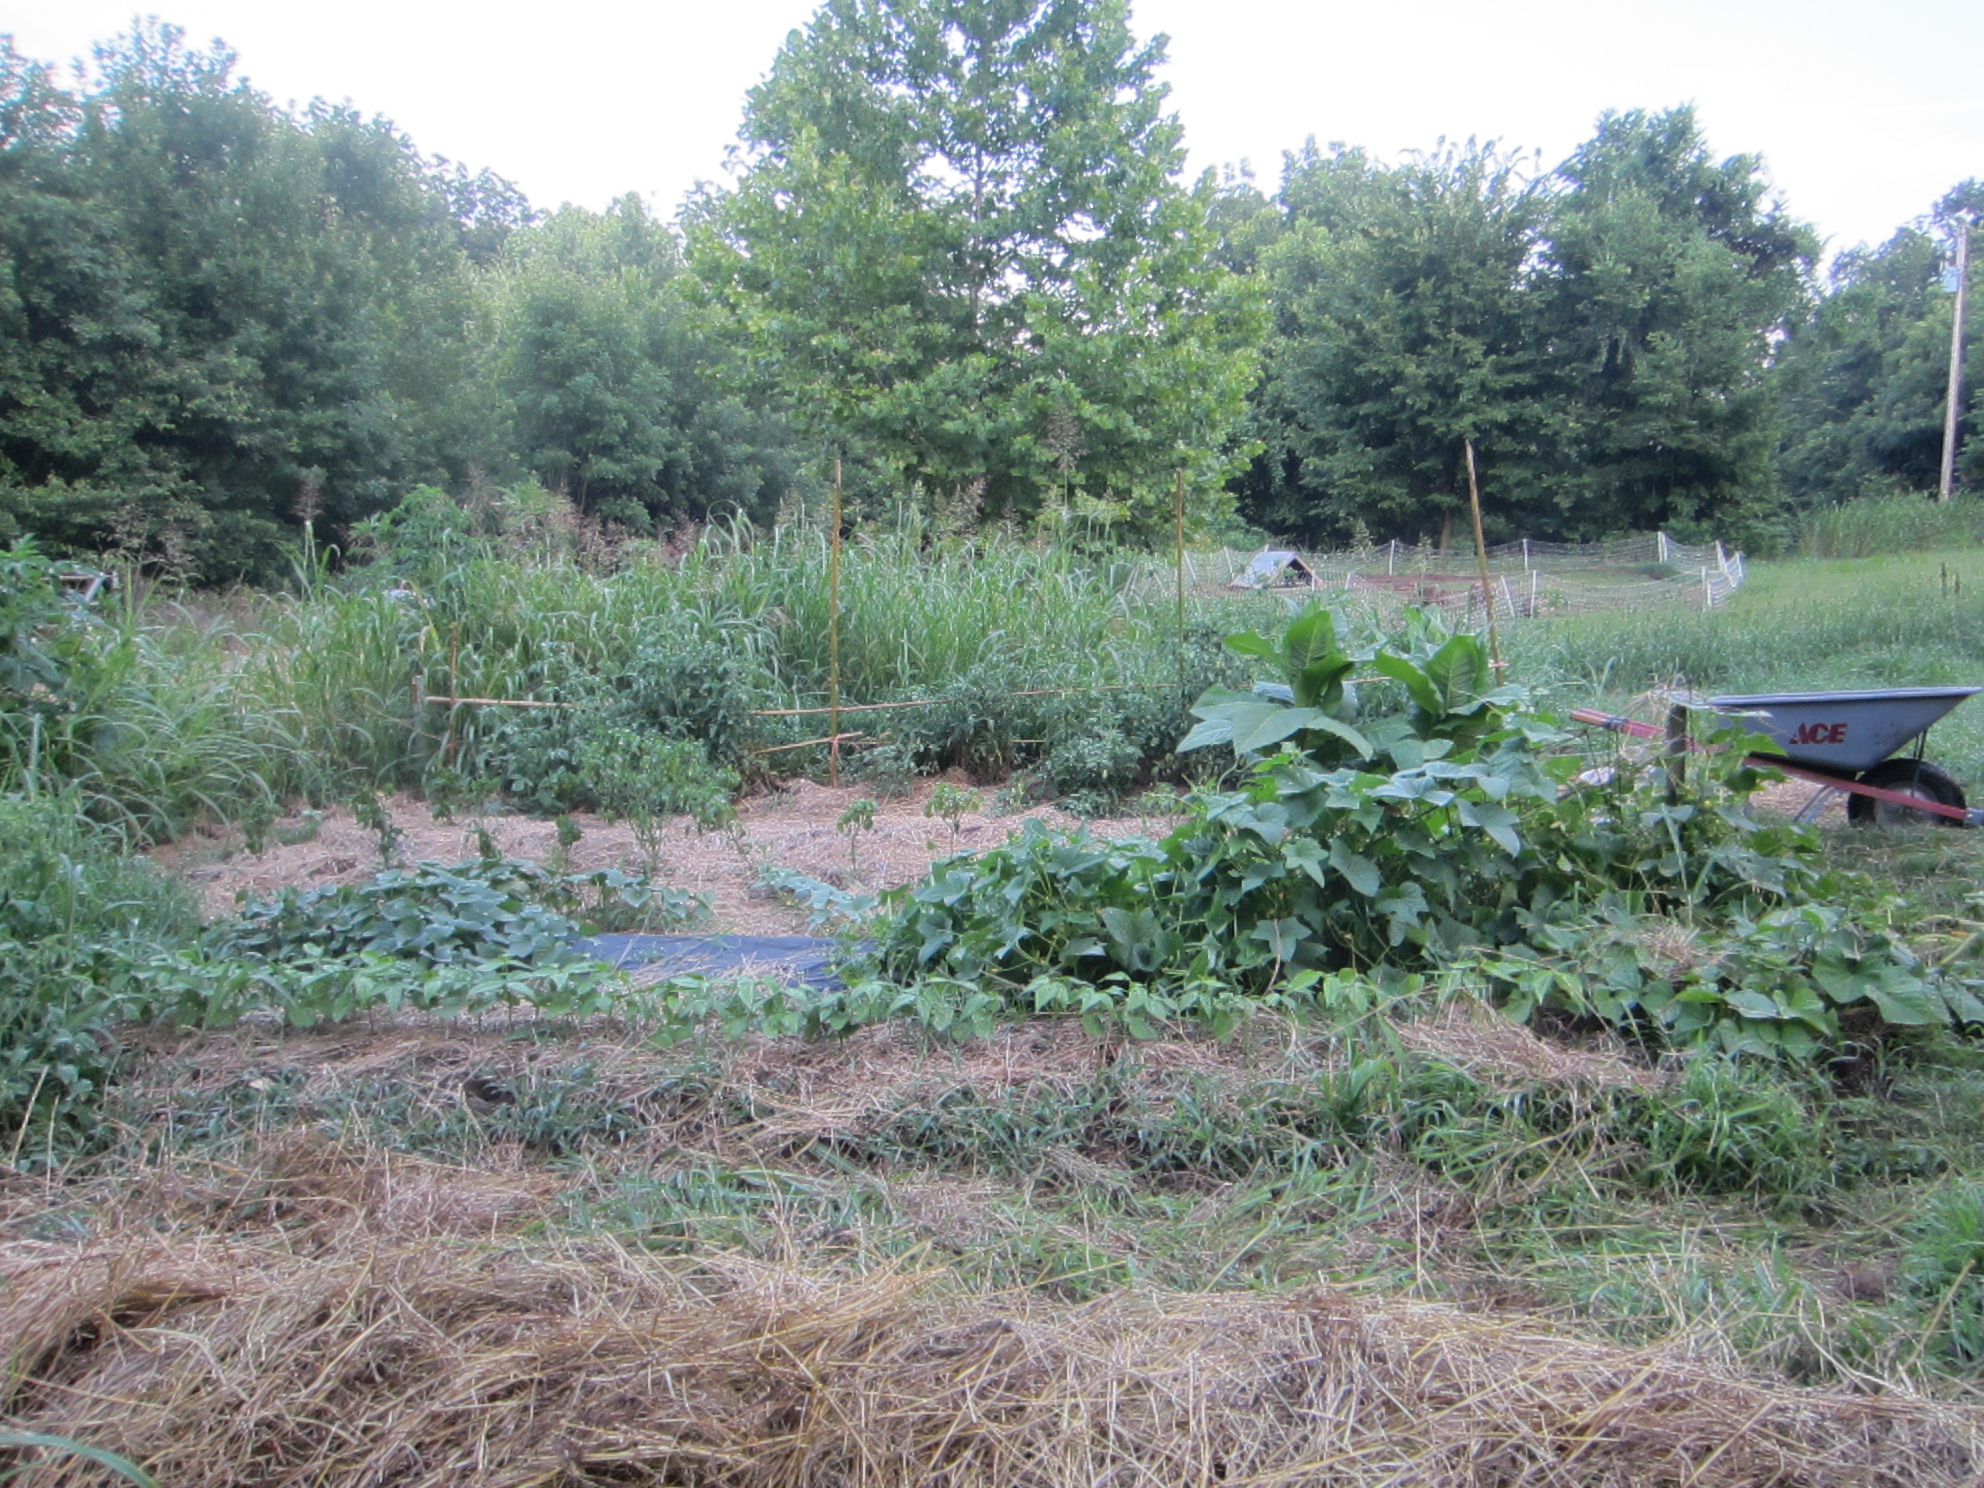
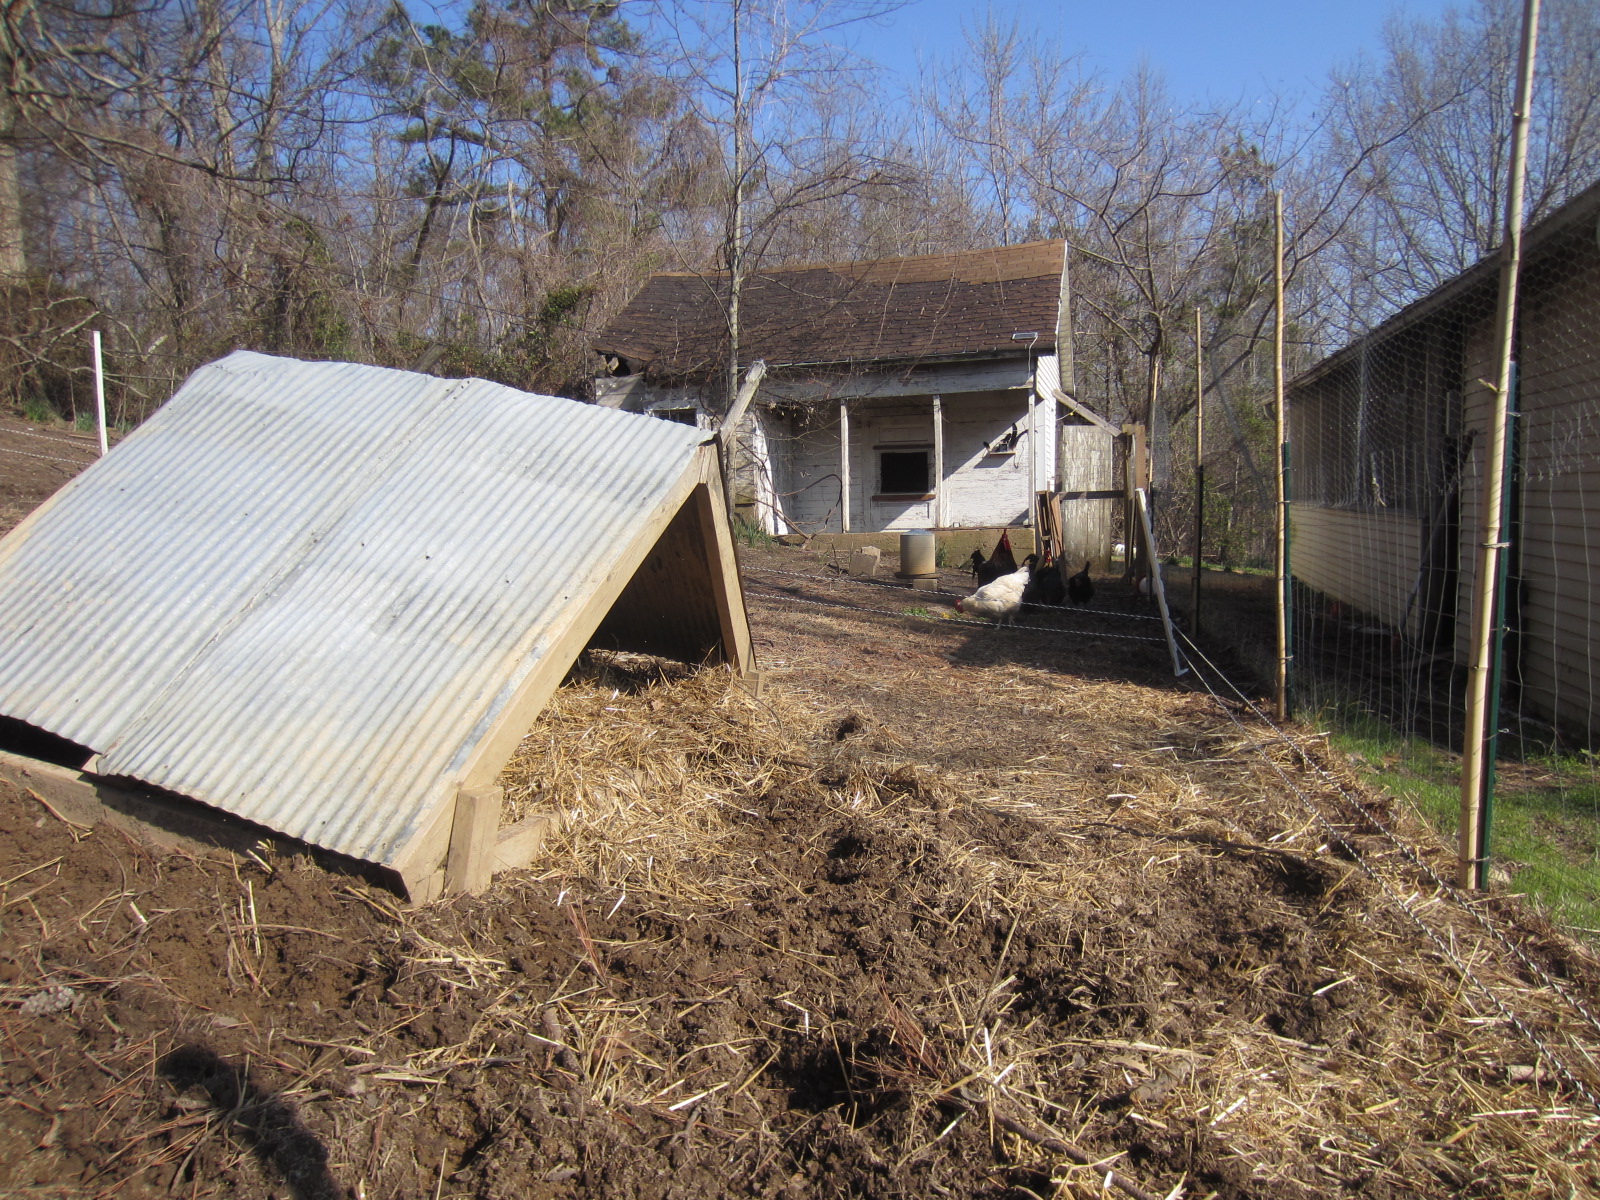
We got home around ten thirty last night, and put them out in their temporary enclosure. For shelter they have the a-frame structure that Sean built for our pigs last summer, and we’re, once again, using the chicken fence as a backup against the electric fence’s failure, though we made the electric fenced area about half the size of the chicken yard, and it doesn’t include the chicken house this year, so our birds still have someplace to scratch.

You can see the electric fence/chicken fence arrangement here, as well as the pig shelter.
When we set them down, they stood still for a moment, then scampered away from us. It’ll take a few weeks before they’re really friendly, but these babies are already less skittish than the last bunch. They bumped the fence a few times (squeeeek!) and then stopped, already miles ahead of what we expected. They immediately began rooting in the mud, searching for tasty grubs and shoots and roots to eat. We went to bed listening to their soft little snores through the bedroom window last night. They are awfully cute when they’re this little.
Our freezer is still nearly full of homegrown pork, as well as turkey and chicken, so we won’t be raising these girls to full size. 
One of them is for the end-of-year barbecue, and a second is for Sean to practice his charcuterie on. The third is for a friend, who has asked us to raise a pig for her family. I’m thrilled that we have the opportunity to share what we do here. It’s all very well for us to try to eat sustainably, but the two of us aren’t that big a deal in the grand scheme of things. Spreading the skills and desire to raise and eat good meat is what it’s all about, and our friend is going to leave here knowing how to turn a hog into porkchops!
It’s time to get up and get ready for the week. I don’t want to: I can see the little piggens snurfling in the corner of their pen from bed, and I can hear them grunting and occasionally squeaking as they bump the fence. What more could I want? But there’s gardening to do, and, as you can imagine, laundry. It’s a beautiful day for it. I’d best put on my work pants and get busy.
Here they are! I saved the best for last.