
This week, thanks to the leisurely summer school schedule, I’ve tanned my coon hide, dug potatoes, cleaned out the fridge, put up garlic and corn, and rendered something like four gallons of lard. Today, I aim to get a batch of soap curing. Soap making is a process that, for us, starts with a half a hog laid out on the kitchen table.
Butchering
When we butchered our pigs, we just heaped the lard up in piles to deal with later and focused on the cuts of meat. At the end of the day, we threw the heaps of fat-chunks in grocery bags and stuffed them in the freezer. This was a poor choice because 1) it was a waste of the high quality lard that we should have saved for pastries and the like and 2) we wound up with 25 pound “lardbergs” to contend with when we finally got around to rendering. I spent hours yesterday trying to cut a greasy fat-glacier into chunks that would fit into the food processor! Next time, we’ll sort the lard by quality, then freeze the (strategically sized) chunks on sheet pans and bag them once they’re frozen.

Meet Lardberg. The fat never really freezes solid, so it quickly becomes slippery at room temperature and attempts to slime its way onto the floor like a snail with a shell made of fat.
Rendering
Rendering is the process of turning the chunks of fat that you’d find on the end of your porkchop into the buttery, smooth, shortening that you’d cut into your pie crust. We do it by grating chunks of frozen lard in the food processor and then putting the resulting shavings in the crockpot or in a pot on the stove over low heat.
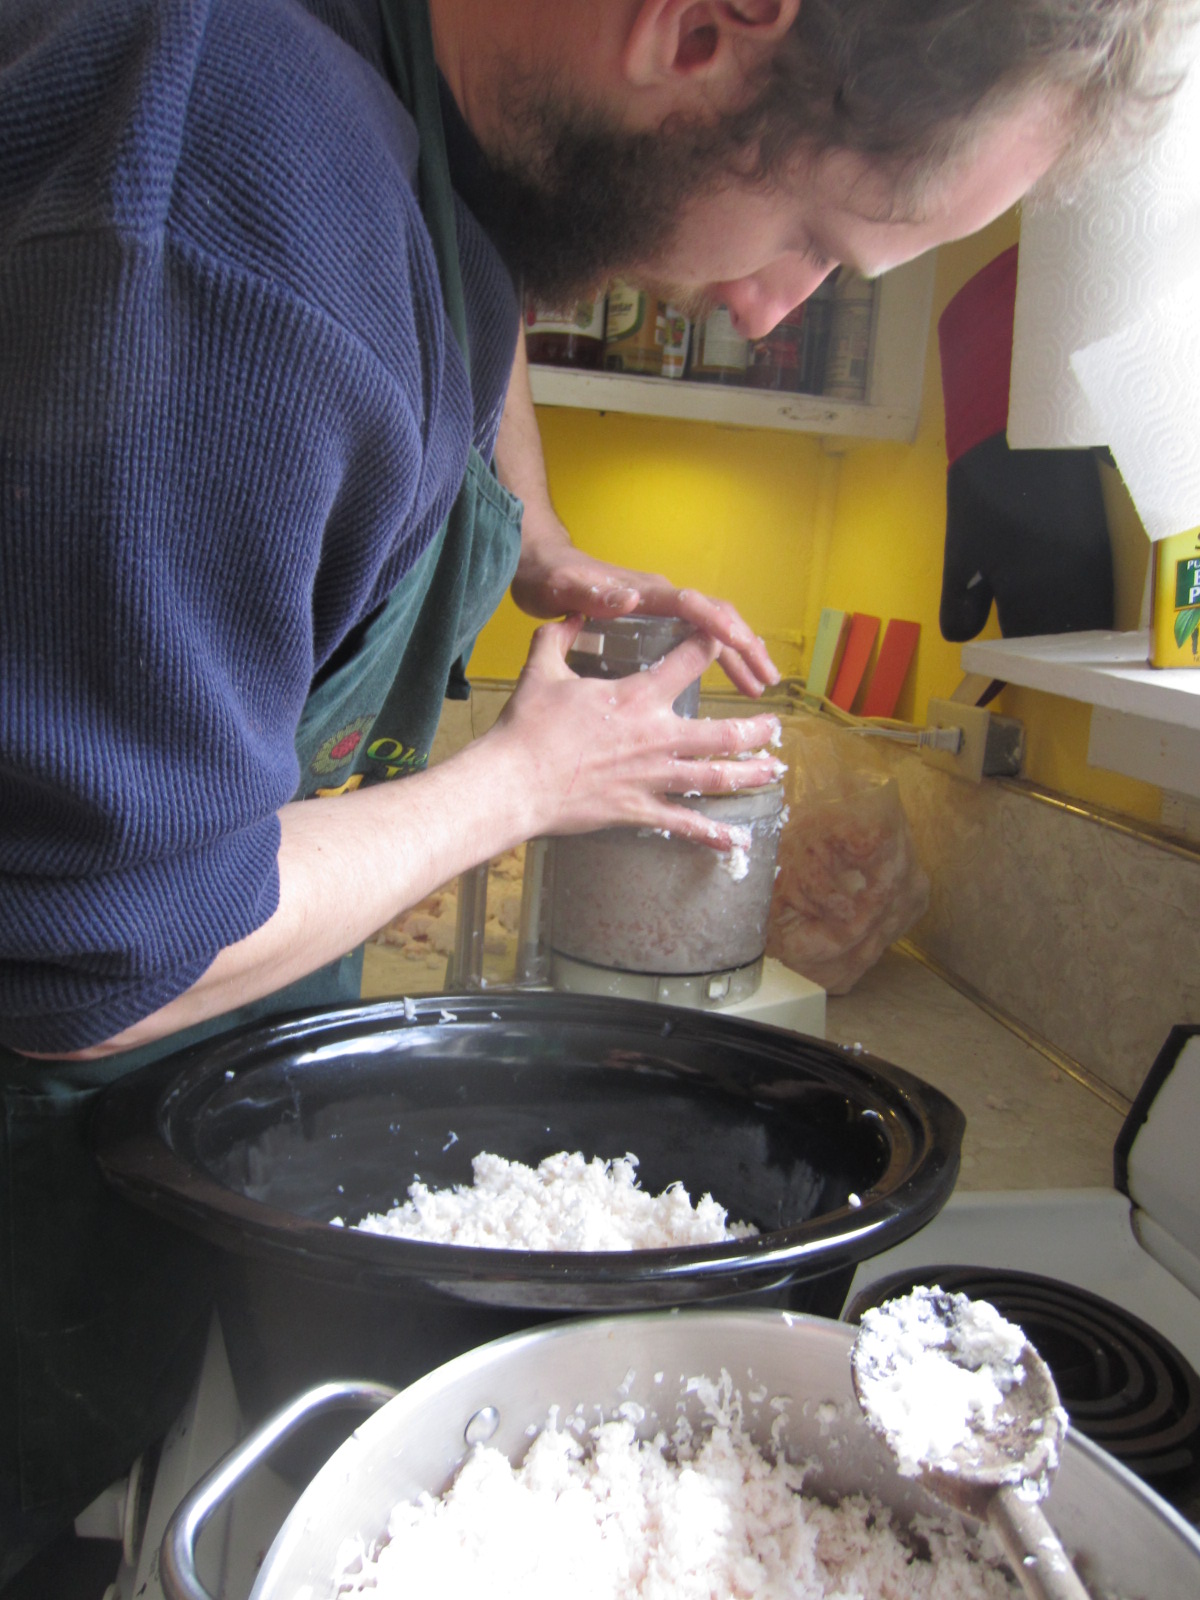
Sean is grating the lard and rendering it in the two pots.
The lard has to be very frozen to grate well. While dismantling the lardberg, we had to refreeze the chunks to get them to run smoothly through the grater. If you process enough lard this way, you’ll notice a buildup of white goo on the grater that resembles nothing so much as twinkie filling. The melting takes a while, but you don’t need to stir or monitor the pots. Most of the lard will turn to liquid and you’ll be left with floating, gray debris. At this point, strain the lard and set it aside.

yummmmm… If you have chickens, they’ll love the fried McHeartattack Glop left in the strainer.
You can use it immediately if you’re making soap, or store it for later use in the fridge or freezer. It’ll solidify when it’s cool, but ours is liquid at what we call room temperature in Arkansas.
Mixing up the soap
You will need:
- a couple of hours, most of which is wait-time
- lard
- lye
- water
- essential oils, herbs, whatever stuff you want to put in your soap
- an accurate kitchen scale
- kitchen supplies that you’re willing to sacrifice to soapmaking: a jar for mixing lye and water, something to measure lye into, a pot to mix the soap in, and a spoon to stir the lye and water mixture
- something to use for a mold: a cardboard box lined with a plastic grocery bag works just fine
- vinegar. SAFETY TIP: While mixing, know where your vinegar is, and have plenty. Vinegar will neutralize the lye if there’s an accident. Sean and I have made soap twice without a problem, but it’s better to be safe than sorry.
We’ve used the process and recipe described in this article from Mother Earth News. You weigh your lard, then calculate and double check how much lye and water to use. Add the lye to the water (NOT the water to the lye – this could splash lye around, which is dangerous) and let it heat up by the magic of chemistry and then cool to room temperature/slightly warm. This takes about an hour and it will get HOT, so make sure that you mix the lye and water in a place that you can count on to remain safely undisturbed for an extended period of time.

Measure carefully, then pour the lye into the water.
Carefully add the cooled water-lye mixture to the warm (95 degrees if you have a thermometer, warm when you touch the pot if you don’t) lard, plus any essential oils or goodies that you’d like to throw in there. We have used lavender oil and flowers to great effect, and we’ve just guessed at the amounts. Stir stir stir until the soap reaches the trace stage. This takes FOREVER. If it is at the trace stage, a drizzle of soap stays on top of the mixture. At this point, it’s ready to be poured into the mold. Don’t do it before it reaches trace: we made that mistake and had quite themess to contend with.
Shaping
When we have made soap in the past, we’ve lined cardboard boxes with plastic bags, poured and scooped the soap in, then let it sit overnight. By morning, it had stiffened up enough to cut.
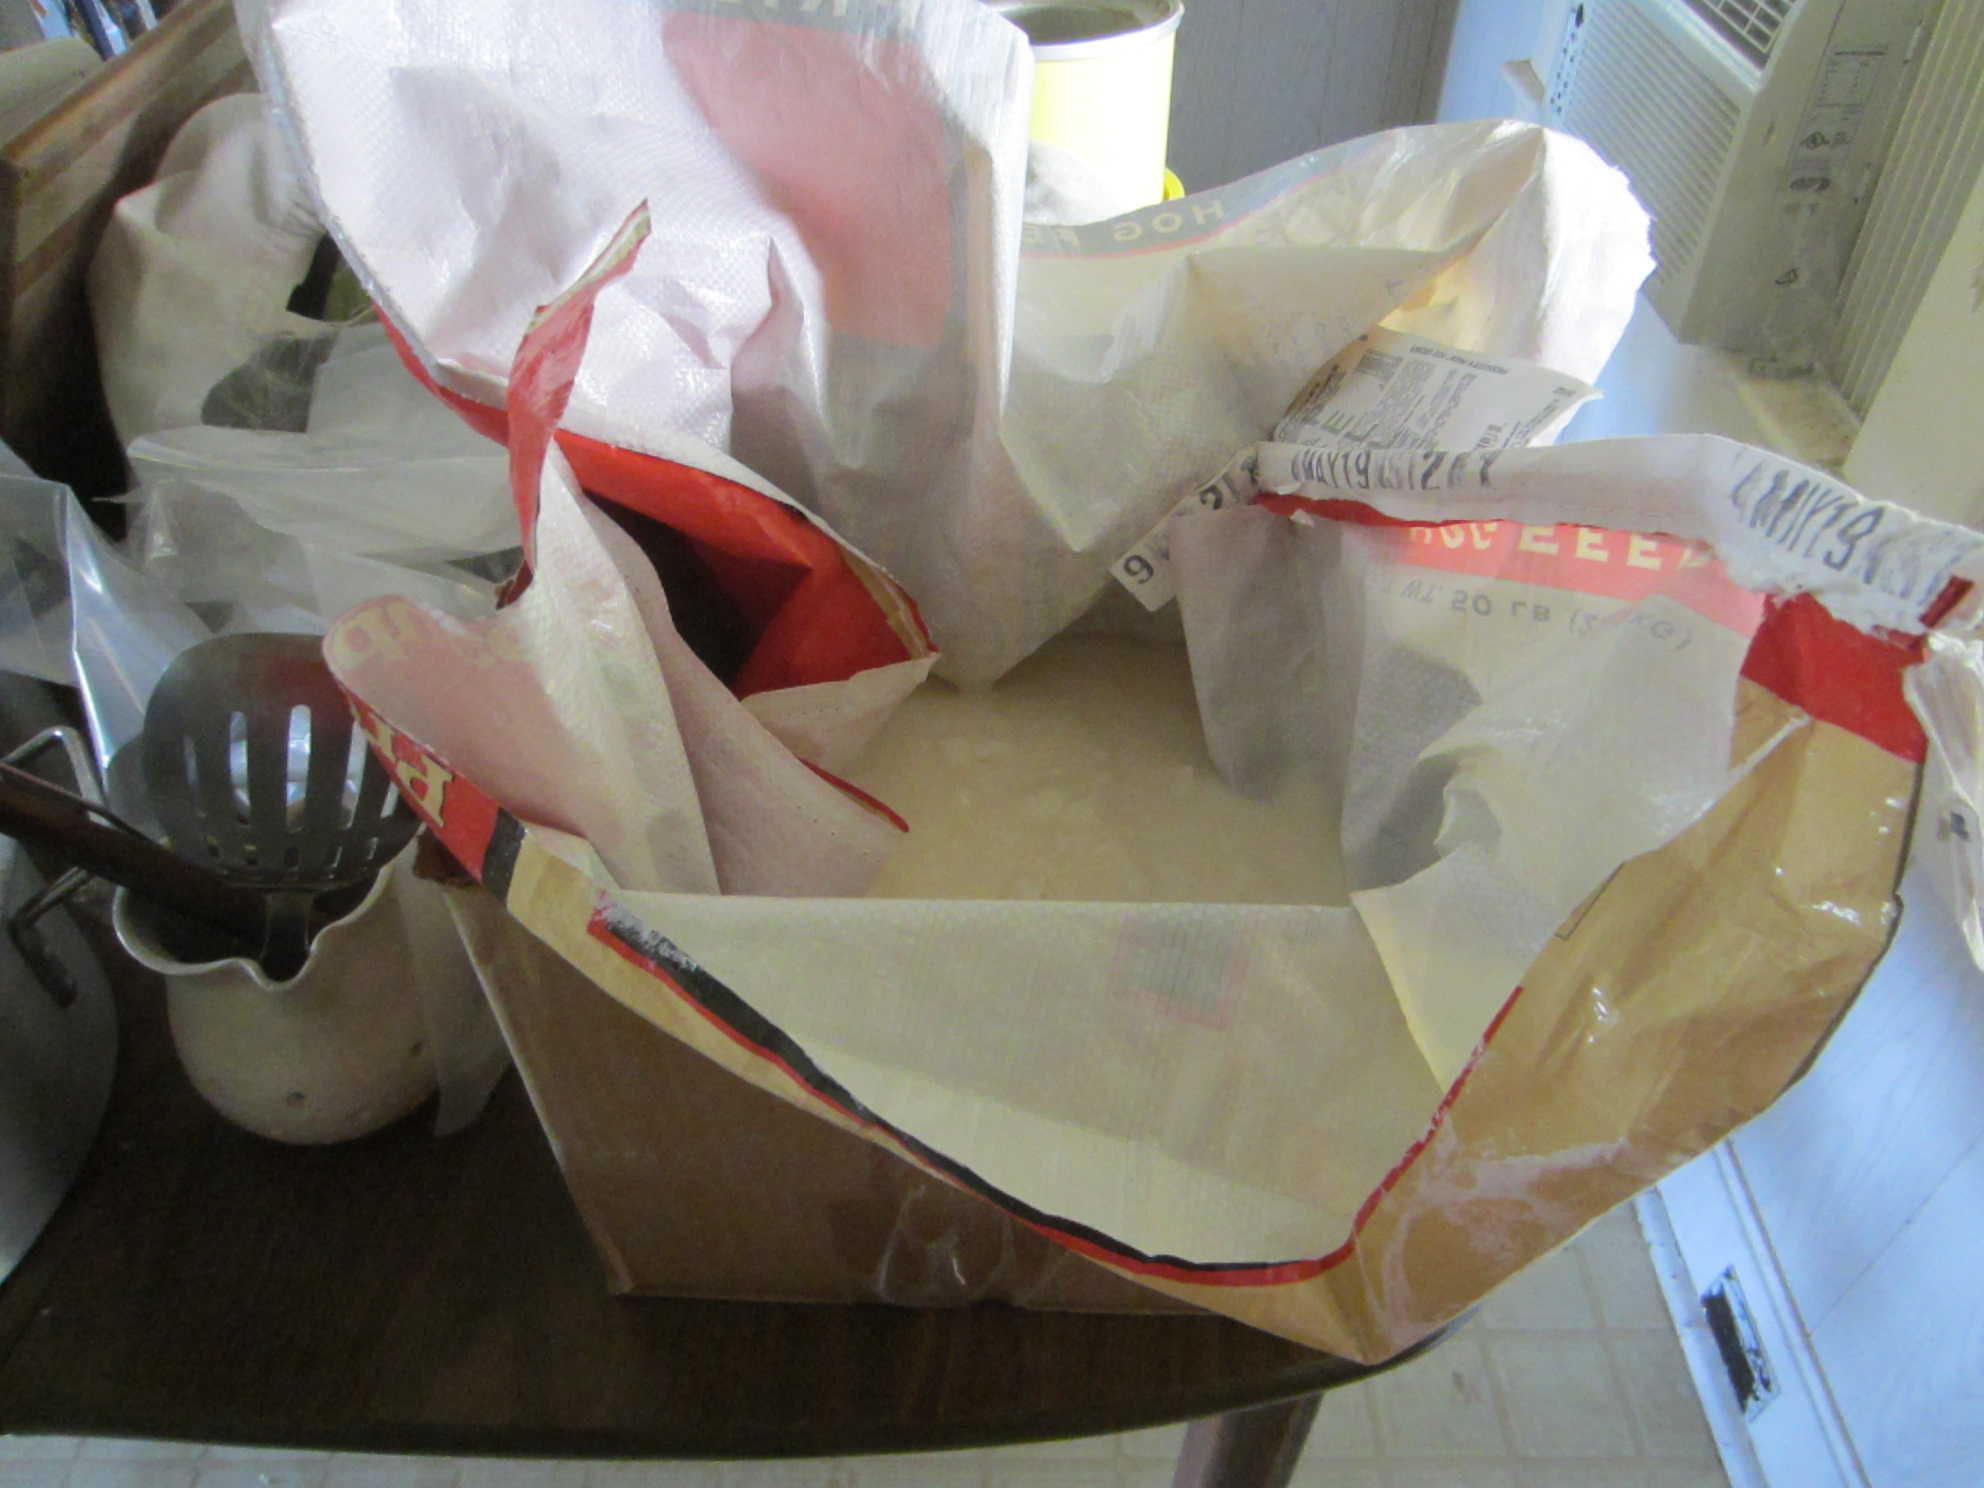
behold my cunning use of a feed back as a box liner!
The first time, it was still soft and we were able to cut it with dental floss. The second time, we let it sit too long and it was harder and more brittle. We had to cut it with a knife, and the bars cracked and split. We’ve only made rectangular bars, but I think I’d like to try different shapes this time if I can find appropriate objects to use for molds. I might cut the top and bottom off of a plastic bottle and try to make some round bars this time, or use a pringles can.
Cleanup
Carefully rinse anything that had lye in it with vinegar, then wash it normally. Some sources recommended that you label your soap making supplies and use them only for soap making. I leave the mess in the pot that the soap was mixed in, set it aside in a dark and ignorable corner, and wash it out when the soap is declared cured a few weeks later.
Curing
Lye soap must cure for at least two weeks before use, or it can burn the user. Some sources recommend waiting longer. I have laid out cardboard on the floor of the spare room or the dining table and spread the bars evenly on that, flipping them from time to time during curing. We haven’t had any hiccups in the curing part of the process: I think it’s pretty foolproof as long as you have some airflow and keep the soap away from children and pets (our cats were fine, but unlike dogs or children, they are very discerning about what they eat).
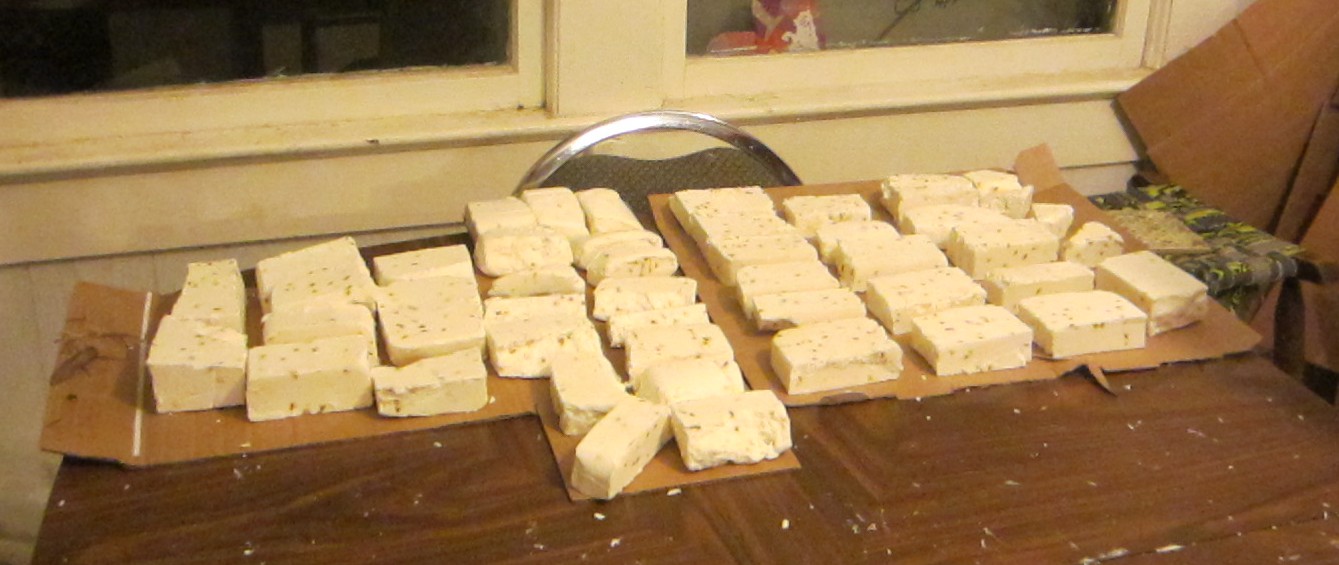
Curing! Our soap has lavender flowers in it: that’s the speckles.
The Product
The soap we make lathers wonderfully. The bars are hard, but the soap is smooth and creamy. I use it to make liquid hand soap (meaning I grate my bar soap and add warm water, then stick it in a dispenser) and dish soap, and when the huge container of laundry detergent I bought a year ago runs out, homemade laundry soap will replace that too.
If you’re planning to make your own soap, good luck! I can’t emphasize enough how rewarding it is to have all of our household soap coming from our land, animals and kitchen.

This is totally awesome. I used to ask the butchers at Whole Foods to save their pork fat for me (they throw it out!) for rendering lard, which makes me a bit of an outlier but you’re actually raising the pigs!!! I also love that the chickens eat the McHeartattack Glop. And your soap looks beautiful. I imagine that big pile you made will last a while too.
BTW, thanks for the link 🙂
I can’t believe I didn’t comment on this already. I don’t have anything to add except to say that you are seriously tempting me to the dark side of “proper” soap making.